RetroPie and Xbox One S Wireless Controller (Bluetooth): How to get it 100% working in 2020

Recently I got back into emulation. With new ready-to-use Linux distributions like RetroPie for the Raspberry Pi, emulating old game consoles and other systems has never been as easy and inexpensive as it is now. Once I started, I noticed a problem though: Playing games without a controller will be tough. Thankfully I had a wireless (bluetooth) Xbox One S controller laying around. I thought to myself: Great! The Raspberry Pi 3B+ also has Bluetooth integrated. It should not be much of a problem, right? Well, I got disappointed, but I also found the solution. After all, it wasn't this hard. Learn right here how to connect your Xbox One Wireless Bluetooth Controller with RetroPie and get it 100% working in 2020.
Requirements
I assume that you do have the following:
- Raspberry Pi with RetroPie installed
- Integrated Bluetooth or Bluetooth USB adapter (I have only tested it with the integrated bluetooth, and it was working without issues)
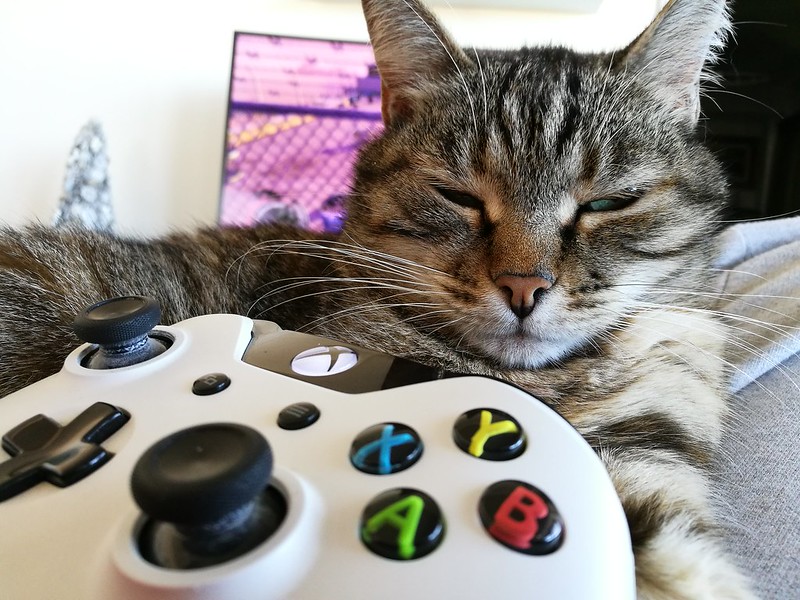
- Xbox One Wireless (Bluetooth) Controller: There seem to be different versions of this controller. You need the one that can connect via Bluetooth with other devices.
- Beginners knowledge of Linux system administration: You should be able to connect to your Raspberry Pi via SSH or make configuration changes via other methods. You should be able to execute shell scripts and run general commands via a command line interface.
Expected Results
What do we want to achieve?
- All buttons should work, in the menus as well as in the games.
- The controller should auto-connect.
- No weird issues (for example, random disconnects or unusual input lag).
When I first tried connecting the Xbox controller without reading any tutorials it either failed connecting (due to the so called ERTM option, which was activated), or, after I deactivated that and it successfully connected, no buttons were working or only some of the buttons (especially the SELECT / "Xbox-Logo" button was an issue). In the following, these issues will be resolved.
Tutorial
Let's go, so that we can get into emulating and playing our favourite retro games as soon as possible.
- First of all, I do recommend that you turn on SSH for your Raspberry Pi with RetroPie. It is the easiest way to perform config changes. If you want to do this some other way, you do not have to activate SSH. But it is recommended. To do so, go into the RetroPie settings, start
raspi-configfrom there, go to "Interfacing Options" -> "SSH" -> Activate it -> then closeraspi-configvia the "Finish" button. - You should now be able to connect to your Raspberry Pi via SSH (username is
pi, password israspberry). - Change the password with
passwd, as it is a default password and therefore highly insecure. - The main part of the solution is installing the
xpadneodriver from Github, which is a special driver for Xbox One wireless (Bluetooth) game controllers:- You can find the driver here: https://github.com/atar-axis/xpadneo
- Follow the install instructions outlined on the Github page via SSH. It should be straightforward, just run the commands and the driver should successfully install.
- Now it is time to reboot your Raspberry Pi (
sudo reboot). - When RetroPie is fully started again, we can start with connecting the Xbox One Bluetooth Controller. To do this, hold the "Xbox-Logo" button on the Controller, until it starts slowly blinking. Now push and hold the pairing button on the plastic above the battery holder for a few seconds, until the "Xbox-Logo" starts blinking rapidly.
- Go into the RetroPie configuration -> Bluetooth.
- Choose "Register and Connect to Bluetooth Device".
- RetroPie will scan for Bluetooth devices, which will take a few seconds.
- Choose your Xbox One Controller.
- When you are asked for the connection method, the first, pre-selected option should work (in my case it was "DisplayYesNo").
- If you get a success message, the "Xbox-Logo" is permanently lit up and if the controller did vibrate, it was successful.
- Go back into the RetroPie menus.
- Open the EmulationStation menu (with the "Start" button of your keyboard).
- Choose "Configure Input" -> "Yes".
- Now hold any button on your Xbox controller -> the configuration process should start. Just push the correct buttons to configure the key mapping with your controller.
Done
That should be it. You can reboot your Raspberry Pi to try the reconnecting feature - it should work without any issues. You can also disconnect the controller by pushing and holding the "Xbox-Logo" button for a few seconds until it is not lit up anymore. Then push it again until it lights up. Your controller should reconnect within a few seconds. You should even be able to see the controller battery charge in the top right of the RetroArch menu (the menu which you can access, once you have started a game) - although I am not yet sure if the displayed percentage is accurate.
Troubleshooting
It didn't work? Here are some possible reasons for this:
Udev Rules
I have performed these changes on a new RetroPie installation, where they worked without issues. In case your installation is already older and you have made some changes, it is possible, that you have tried the option "Set up udev rule for Joypad" in the Bluetooth menu some time ago. You should delete the udev rule for the controller and then reboot. The rule is created under /etc/udev/rules.d/99-bluetooth.rules
Old software
Make sure your RetroPie is up-to-date by issuing
sudo apt-get update && sudo apt-get dist-upgrade
via SSH.
Xbox Controller Firmware
The Xbox Controller has a firmware which can be upgraded, and although for me everything worked out of the box, who knows, maybe your version is older? To upgrade your firmware, connect the controller via USB with a Windows PC / Xbox. There are several guides online that explain the process.
Analogue stick not working
You can use your D-Pad within the game, but the analogue stick does nothing? This is expected behaviour in RetroPie and doesn't have anything to do with the Xbox controller in general. You can change this by going into the RetroPie configuration -> "Configuration editor" -> "Configure basic libretro emulator options" -> "Configure default options for all libretro emulators" (in case you want to change this for all emulators) -> "Player X - use analogue stick as d-pad".